Sourdough garlic knots – the one where a fluffy dinner sourdough roll meets a breadstick. Enjoy this delicious twist on pull-apart rolls at your next fancy Italian dinner or pizza night.
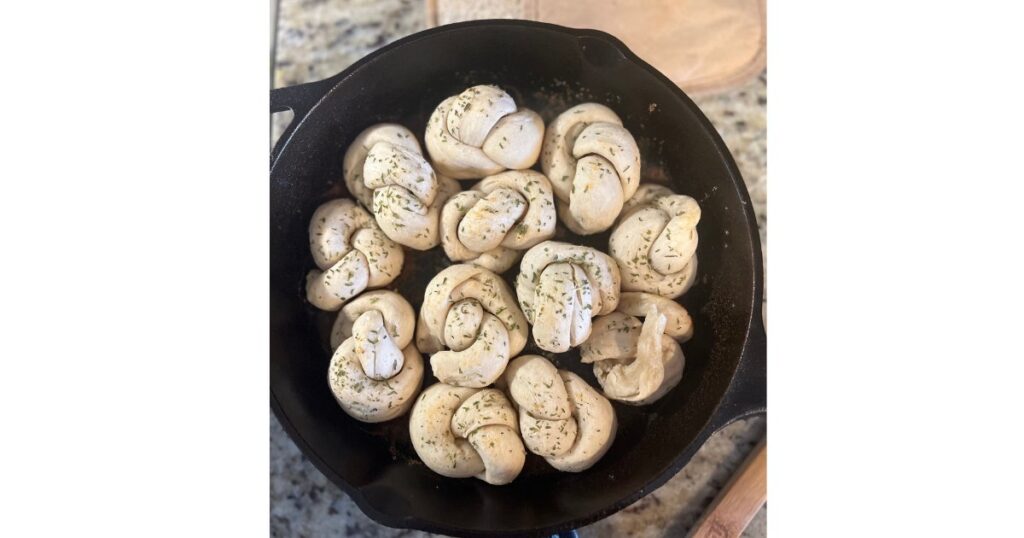
Sourdough garlic knots are a tradition in our household. We love having some form of bread – water it be these garlic knots, garlic bread, breadsticks or a fresh slice of sourdough bread to enjoy with our dinner. Not only are they great to rip apart and dip and vinegar and oil, but they taste delicious by themselves.
If you ever had garlic bread or Little Caesar’s breadsticks – these taste very similar. Especially when topped with white cheddar cheese.
With little preparation necessary, these sourdough garlic knots require no commercial yeast (aka active dry yeast) and rise on their own thanks to the wild yeast found within sourdough discard. These garlic knots are topped with melted butter, garlic and parsley for the chefs kiss.
We love how this recipe can be cooked in the cast iron skillet for easy cleanup. Plus they are an easy sourdough discard recipe. You can mix it together with your hands in minutes!
Ingredients
- Sourdough discard (active starter or sourdough discard)
- Flour (all purpose flour, bread flour, wheat flour, gluten-free flour can be used)
- Salt
- Garlic
- Use any form of garlic (fresh, powdered, jarred, frozen, or even roasted garlic). Fresh and frozen garlic seem to provide the best flavor over jarred or powdered. Follow adjustments on your garlic as outlined on the package. One clove of garlic is approximately 1/4 tsp garlic powder.
- Water
- Butter (unsalted butter or salted butter work well here. Can also use dairy free butter)
- Optional: parsley (fresh parsley or dried)
- Optional: white cheddar cheese
Reasons Why You Will Love These Garlic Knots
There are many reasons to enjoy these garlic knots including:
- There is minimal preparation needed. Simply mix together for a few minutes and allow to rise.
- The recipe is time variable based on your schedule and fermentation goals
- The garlic knots can be cooked in a variety of shapes
- It is a fun twist on a bread recipe
- No instant yeast or any leavening agent is necessary thanks to the wild yeast found in sourdough
- They are light and fluffy
- They are fermented and gut health – which will not impact your blood sugar much
- They bread knots have pull apart layers which is the best part, in our opinion. Who does not like ripable sourdough garlic knots?
- And if you are a garlic lover – these fit the bill
How to Make Sourdough Garlic Knots
To make homemade sourdough garlic knots start by feeding your sourdough starter. You can use sourdough discard which is not at peak levels. If you use discard rather than active sourdough starter, they will not rise as much.
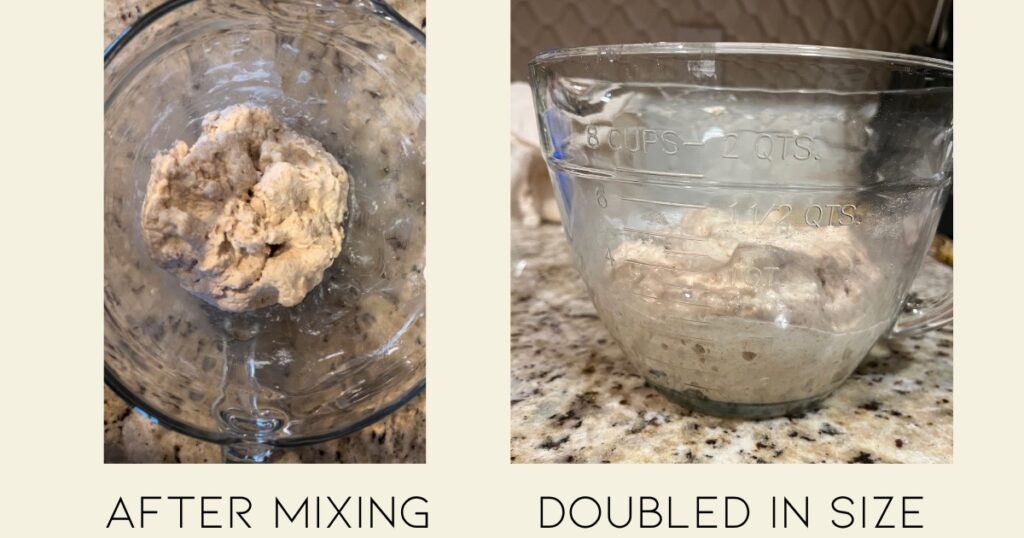
Mix the dough ingredients (flour, sourdough starter, salt, water, garlic) together in a bowl. Allow it to come together with your hands to form a shaggy dough.
Continue to knead with your hands for 5–10 minutes. Alternatively, use a kitchen aid. Place in the bowl of a stand mixer and use the dough hook attachment.
The dough will stick to your fingers less as you build the gluten. The texture will become pillow like and less tacky. When stretched, it will not look like a windowpane and may break – though this is ok and will not impact the final taste.
Alternatively, use a kitchen aid. Place in the bowl of a stand mixer and use the dough hook attachment. The dough ball will begin to stick less to the sides of the bowl within 3-5 minutes.
After mixing, cover the large bowl with a damp towel and allow it to ferment on the countertop until it has doubled in size. The rise time will vary depending on the temperature of your room. Next place the covered bowl within the refrigerator to completed bulk fermentation until you are ready to bake.
These can have a bulk fermentation (aka an overnight fermentation period) of up to 48 hours before baking. The longer the dough sits the more pronounced the sour flavor will be.
The next day, preheat the oven. Remove the dough from the mixing bowl and allow it to come to room temperature.
Heat your cast iron skillet on the stove and melt 1-2 tablespoons of butter (or use olive oil). Keep the pan on low heat during this time to ensure the pan is warm when going into the hot oven.
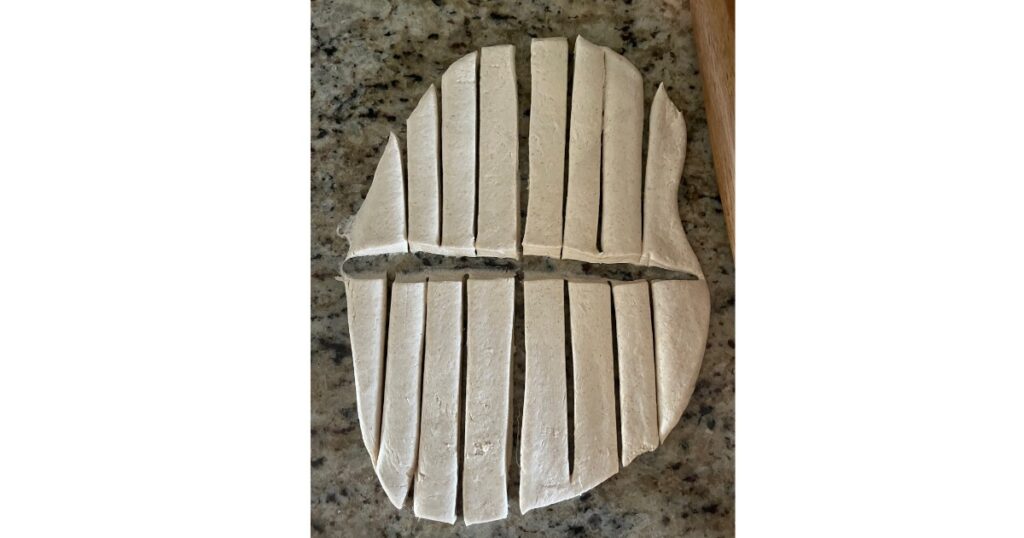
Sprinkle garlic powder on top of the dough during this time as you shape into a 1-2 inch high rectangle using your hands or a rolling pin.
Using a dough cutter / bench scraper, cut the dough into 12-14 equal pieces. You may want to have a lightly floured surface if the dough is still sticky to prevent it sticking from the counter.
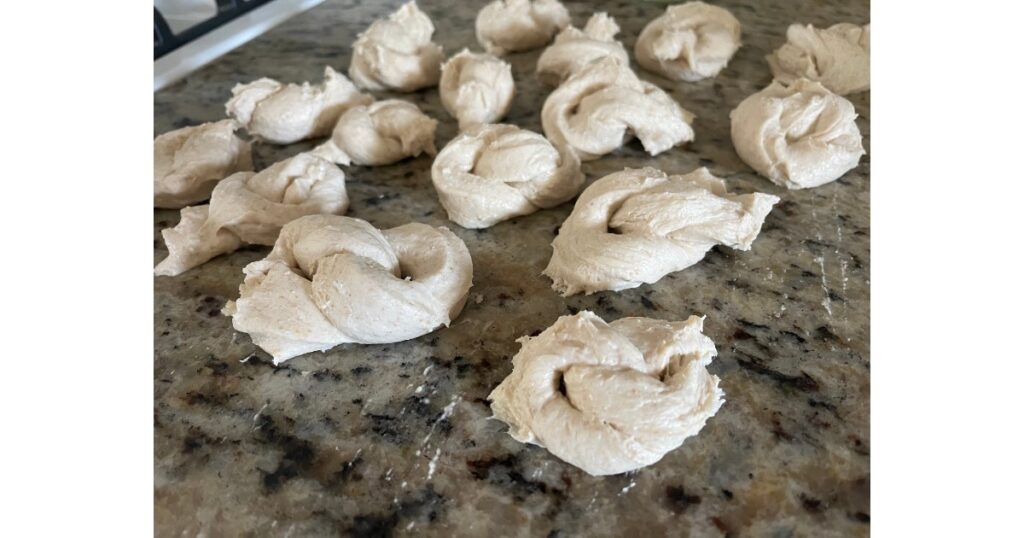
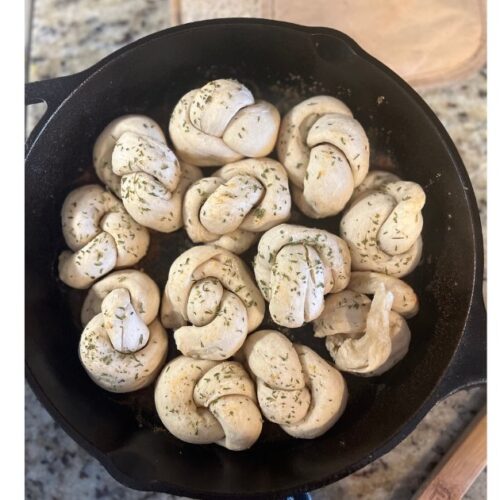
With your fingers, roll each piece of dough into a log/worm shape and begin to tie into a loose knot. Tuck the corners in for a uniform shape, similar to an infinity sign or leave the edges out for a pretzel shape. If the dough is sticky, wet your fingers while shaping.
The dough will not stretch much during this time. However, because you kneaded it by hand – it should not break when formed into shaped knots.
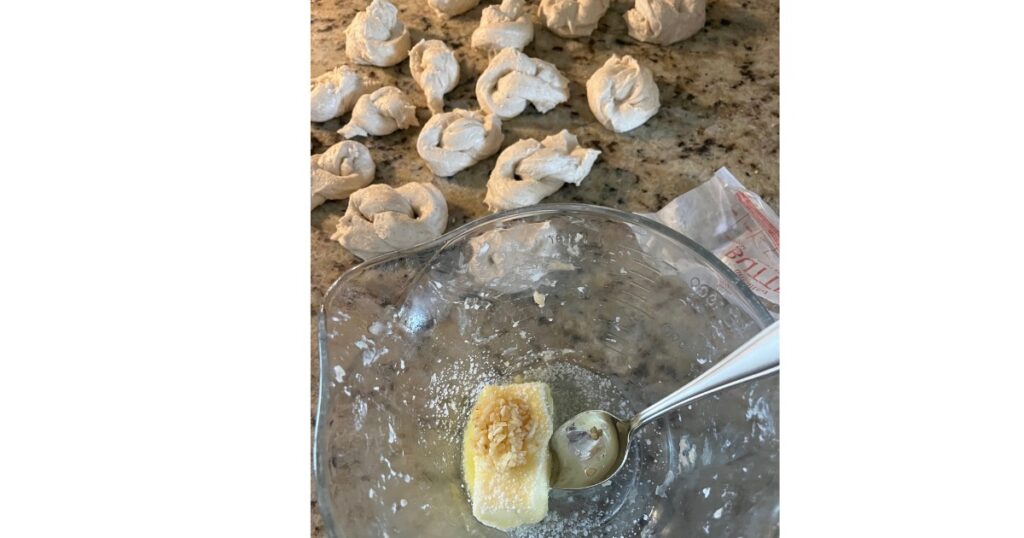
Next, prepare the garlic butter mixture to spread over the sourdough garlic knots like you would for garlic bread. Combine minced garlic, butter, and salt in a small saucepan or small bowl until warmed.
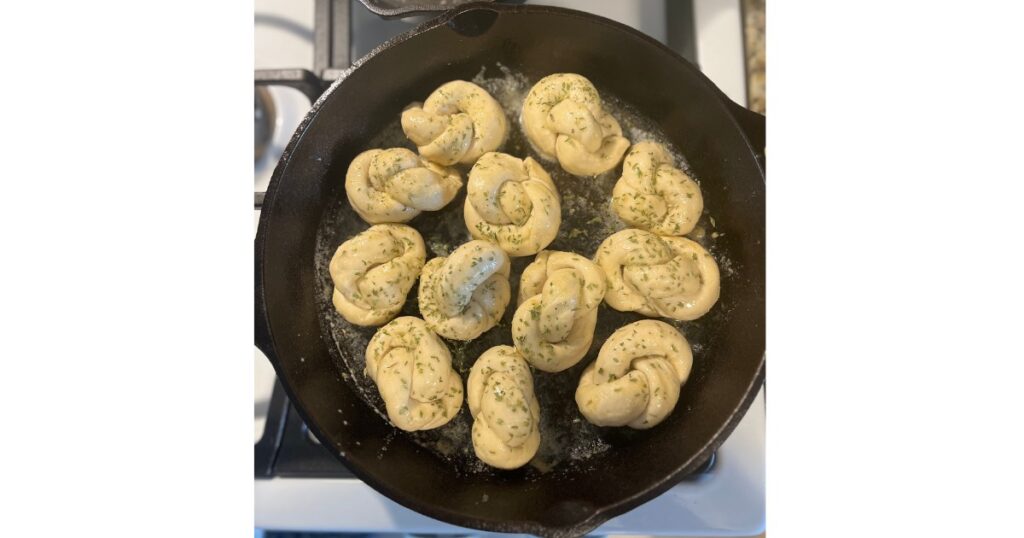
Once the cast iron skillet is heated, place the garlic knots into the pan and spread the garlic butter mixture over the top of the knots.
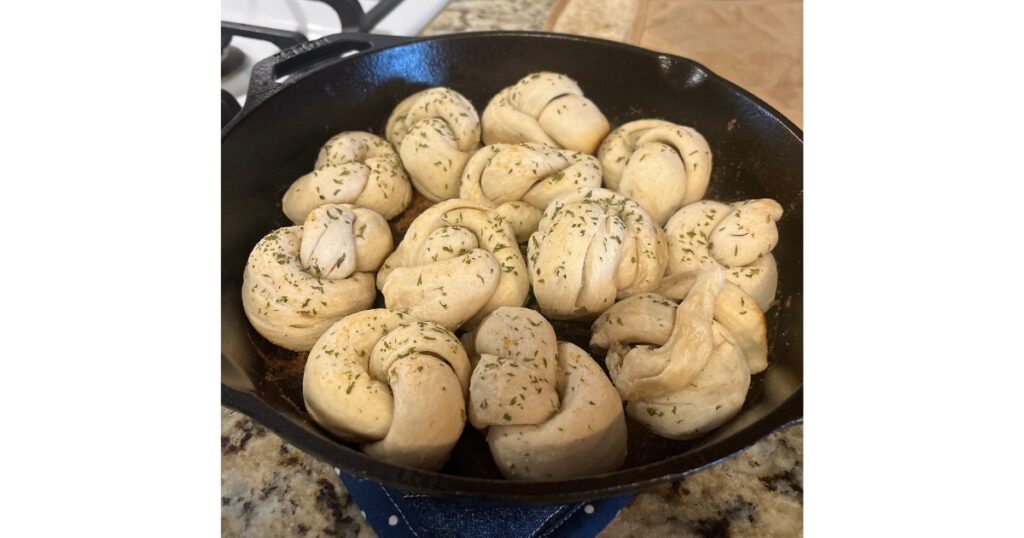
Place the cast iron skillet into the oven. Bake until the tops are firm to the touch and golden brown in color. This will take about 15-18 minutes.
When baked, remove the cast iron skillet from the oven. If preferred, sprinkle the sourdough garlic knots with additional melted butter, a pinch of flaky salt and parsley.
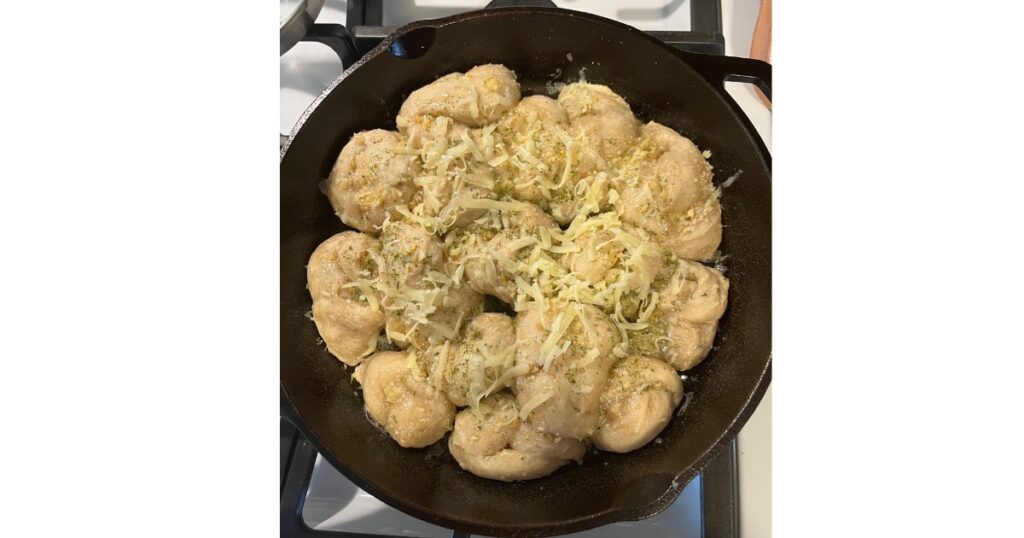
White Cheddar cheese is also delicious on top. Serve the baked knots while warm.
How to Store Garlic Knots
If you are not consuming the sourdough garlic knots right away allow them to cool before placing them into a bag or airtight container. This sourdough garlic knots recipe can sit on the counter for up to three days.
The sourdough garlic knots can go within refrigerator within an airtight container or Ziploc bag for up to one week. Place in the freezer for up to six months in an airtight container.
Making the Sourdough Garlic Knots in Advance
To make this recipe ahead, follow the steps through the countertop fermentation. At this point you can either place them in the fridge and shape the garlic knots before placing in the freezer.
When you are ready make the garlic knots, remove them from the freezer and allow them to sit in the fridge or countertop to thaw out thaw.
Alternatively, double the batch and freeze them after they are baked.
Frequently Asked Questions
Does this sourdough garlic knot dough need a secondary rise?
It is not necessary to have a second rise with these garlic knots however, you can allow them to sit on the counter for up to 30 minutes (or up to 1-2 hours) before placing them in the oven to cook.
I do not have a cast iron skillet. What can I cook these in?
Any baking dish or baking sheet will work to make these garlic knots. Make sure to oil, butter, or line the pan with parchment paper, so these do not stick on the bottom.
Can you substitute flours? Can you use only all purpose flour or only bread flour with this recipe?
Any form of flour listed above in the ingredients should be an adequate substitute within this recipe. The results on texture, rise and height/fluff of the garlic knots may change depending on the type of flour utilized.
Sourdough Garlic Knots
Equipment
- 1 Cast Iron Skillet
- 1 mixing bowl
Ingredients
Garlic Knots Dough
- 6.2 ounces water
- 3.5 ounces sourdough starter active or discard
- 5 ounces bread flour
- 6.4 ounces all purpose flour
- 0.3 ounces salt
- 4 T unsalted butter melted
- 1/2 tsp garlic powder
Garlic Butter
- 2-4 garlic cloves minced
- 4 TBS butter *Split in two. See notes.
- 1/2 tsp salt
- 1 tsp parsley optional
Instructions
- Preparing the dough
- First, ensure you have sourdough discard. Active or sourdough discard can be used within this recipe.
- Next, mix the all dough ingredients except the garlic powder (flour, sourdough starter, salt, melted butter, water) together in a bowl. Knead with your hands for 5-10 minutes. The dough will be sticky at first until the gluten builds. The texture will change to more pillow like and less tacky. When stretched, it will not likely have a windowpane like consistency.
- Fermentation Period
- After mixing, cover the bowl with a damp towel and allow the dough to ferment on the counter until it has doubled in size. Once doubled in size, either bake right away or place the covered bowl within the refrigerator for a bulk fermentation period. The garlic knots can ferment for 48 hours prior to baking and will acquire a more sour flavor as they sit.
Baking + Garlic Butter Mixture
- Preheat the oven to 450 degrees Fahrenheit. While preheating the oven, remove the dough from the mixing bowl and allow it to come to room temperature. (If not bulk fermented in the fridge, the dough will already be at room temperature).
- Place 2 tablespoons of butter into your cast iron skillet. Heat the cast iron skillet on the stovetop on low to melt the butter and warm the pan. This step will ensure the garlic knots do not stick to the cast iron skillet.
- Sprinkle the garlic powder on top of the dough to incorporate while shaping. Shape into a rectangle shape about 1-2" thick with your hands or a rolling pin. If the dough is sticky, wet your fingers to work it. Using a dough cutter, cut the dough into 14 pieces.
- Roll each piece of dough into a log/worm shape and begin to tie into a knot. Tuck the edges in to form an infinity sign or leave them out to be like pretzel shapes.Handle the dough with care. The dough should not break when forming a knot shape. Place each garlic knot into the prepared cast iron skillet.
- Place the cast iron skillet into the oven. Bake until the tops are firm to the touch and golden in color. The garlic knots will easily remove from the cast iron skillet once cooked.This will take about 15-18 minutes.
- When baked, remove the cast iron skillet from the oven. Spread the garlic butter over the top of the sourdough garlic knots. Option to top with shredded white cheddar cheese or parmesan cheese. Serve while warm.
Notes
- The 4 tablespoons of butter listed in the garlic butter are split in two.
- Two tablespoons are used to prepare the cast iron skillet while it is heating. This will prevent the garlic knots from sticking to the cast iron skillet.
- The remaining two tablespoons are used after the dough has baked in the oven. It is topped with the remaining ingredients (butter, salt, parsley, garlic).
- Any form of garlic can be used. Adjust the ratio of garlic cloves to match your packages recommendations. As a rule of thumb, 1 garlic clove is the equivalent of 1/4 tsp of garlic powder.
Nutrition
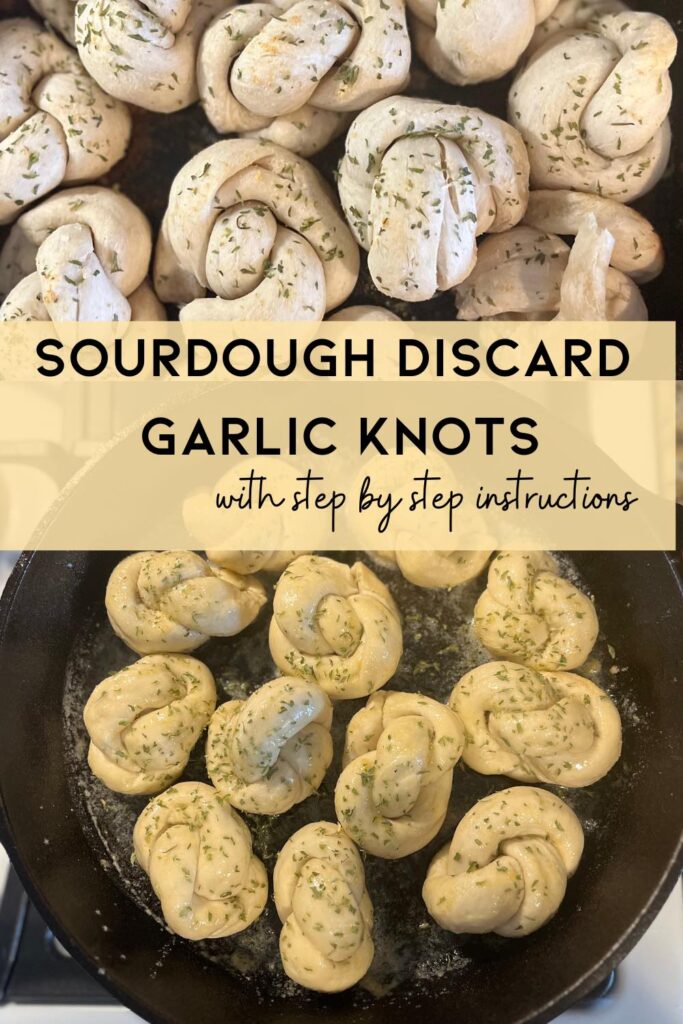
Do you know someone who would like this recipe? Please share it with them!



Is the 8 tbs of butter listed in the ingredients under dough getting mixed into the dough? Where does that get incorporated?
Great question! These are split between the dough, garlic in the cast iron skillet and garlic butter.
4 Tablespoons are incorporated into the dough (during mixing stage).
2 Tablespoons are put into the cast iron skillet while it is heating up. The remaining 2 tablespoons are used after the garlic knots are removed from the oven (garlic butter).
Am I blind!? I read the whole thing 3x and can’t find an oven temperature for baking. Just instructions to put in the oven for 15-18mins.
Thank you for saying something! Oven temp is 450 degrees Fahrenheit.
Can you freeze the raw knots to cook at a later time? Just me and my husband 🤣
Yes absolutely! I would freeze them after they are tied into a knot and then make sure they do complete a secondary rise at room temperature before baking to ensure they are light and fluffy!
They also freeze well if you decide you want to bake them at one time and reheat later.