Making homemade sourdough bread takes patience and a commitment of time (and money). When a beautiful sourdough loaf does not turn out as expected, it can be underwhelming and frustrating. This blog takes you through examples of why sourdough bread may be underproofed, undercooked and even raw despite cooking and cooling.

Sourdough bread is very forgiving. Until it is not. It is never fun to cut into a loaf and find your sourdough bread is raw.
I remember my first few loaves of bread turned out perfectly. Though I was intimidated by the rules of sourdough, I felt confident in the basics. After all, I had created my own sourdough starter from scratch, which is the first step to the bread baking journey!
When the seasons changed and I also wanted to start experimenting with my sourdough bread recipes to make a loaf our whole family loves, I had some failed loaves. After making a loaf, I would cut into it the next day to a bad loaf of bread.
Some would be under proofed, despite fermenting on the counter at room temperature for 11 hours. One would would think would be enough time.
I had a mature starter. And I used the correct amount of sourdough discard. I even used a kitchen scale for accuracy. And I used a dutch oven for some recipes. Some loaves of bread did not turn out right.
The end goal led me to create my Aldi sourdough bread copycat recipe. This recipe has a soft crust, but no sharp ear that pokes you lin the throat, a tender crumb and lots of holes for all the butter to seep into.
During this experiment, I could not save some loaves. This makes it equal parts frustrating and can lead to doubt. Not to mention the extra cost of discarding a bad loaf. However, troubleshooting always helps!

Reasons why your sourdough bread is raw after cooking
It is important to remember there are a multitude of factors which can impact the result of baking sourdough bread and sourdough recipes. What may work for you, may not work for others.
If you are looking to troubleshoot why your sourdough bread is raw or causing you trouble, one of the best practices is to try changing one variable at a time. One of the most common mistakes is changing too many variables at one time.
If you like a recipe, stick with it and change one factor- like reducing the amount of water, changing the amount of active starter or type of flour (IE bread flour, wheat flour, white flour/ all purpose flour) in the bread or increasing oven temperature by 25 degrees Fahrenheit.
This leaves you with a controlled variable rather than multiple changes which makes you guess what factor positively (or negatively) caused the end result.

Hydration
During the summer I have to reduce the hydration of my bread because the temperature and humidity of my home change. Not only does this impact overall time bread ferments on the counter but it also impacts the speed fermentation occurs thanks to the wild yeast in the air.
After the bulk fermentation period a bread can rise too high, especially if it sat in a warm place. Higher altitudes can also impact bread rise and fermentation speed.
I found when I reduced the water ratio (hydration level) in my bread, the dough was less tacky and sticky to work with. This also made the bread spread across the oven less, resulting in a higher rise in the oven.

Air bubble
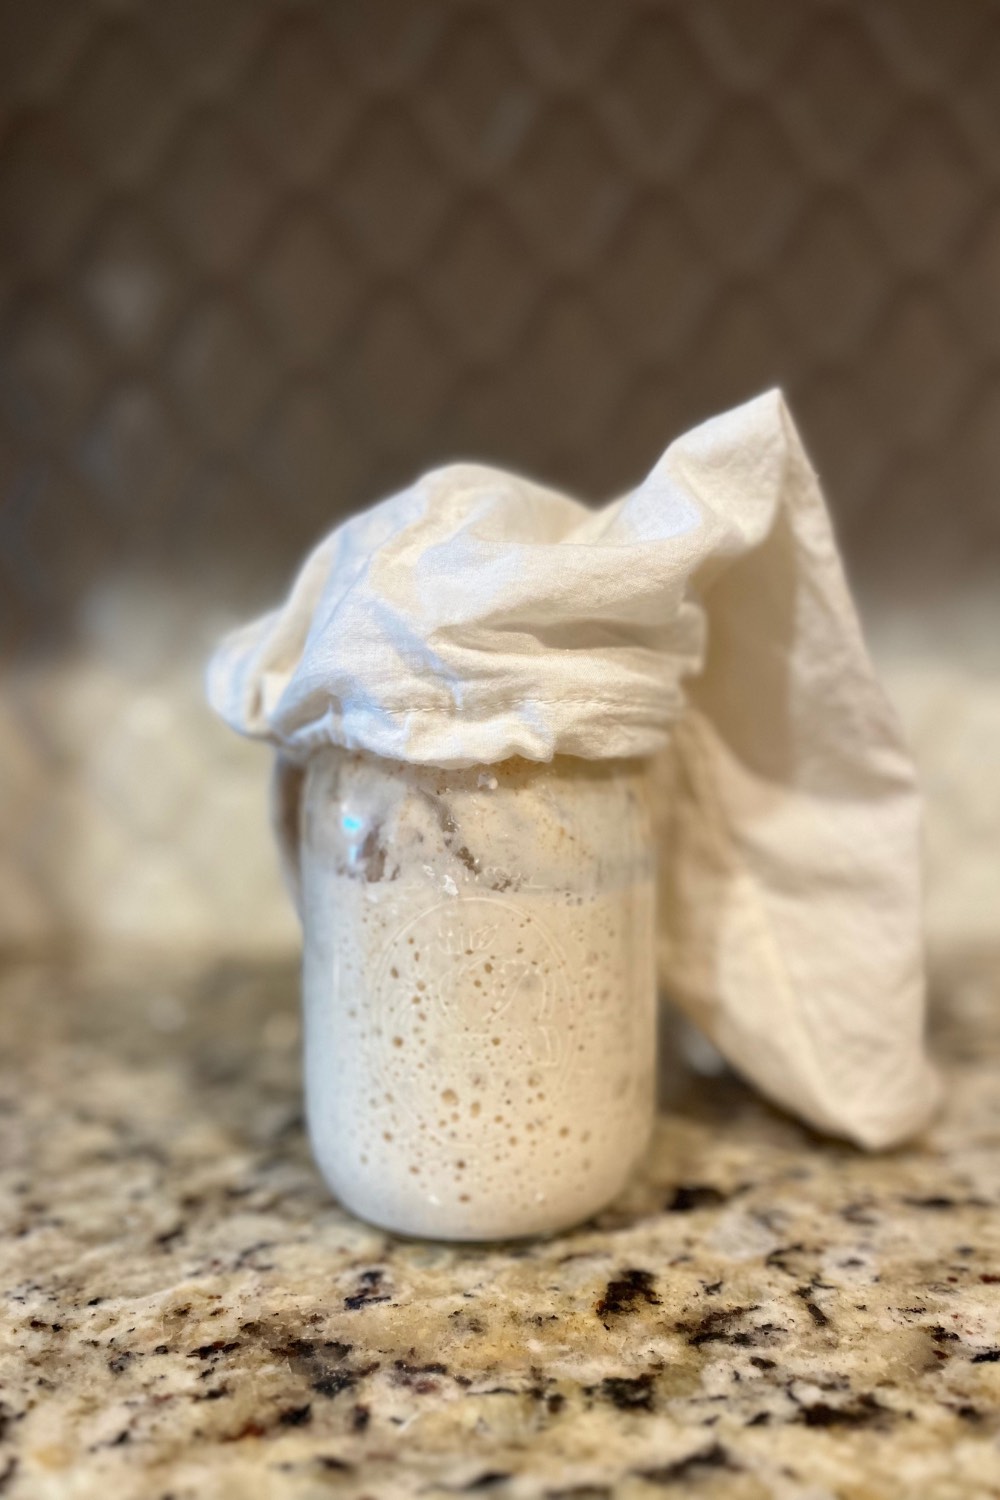
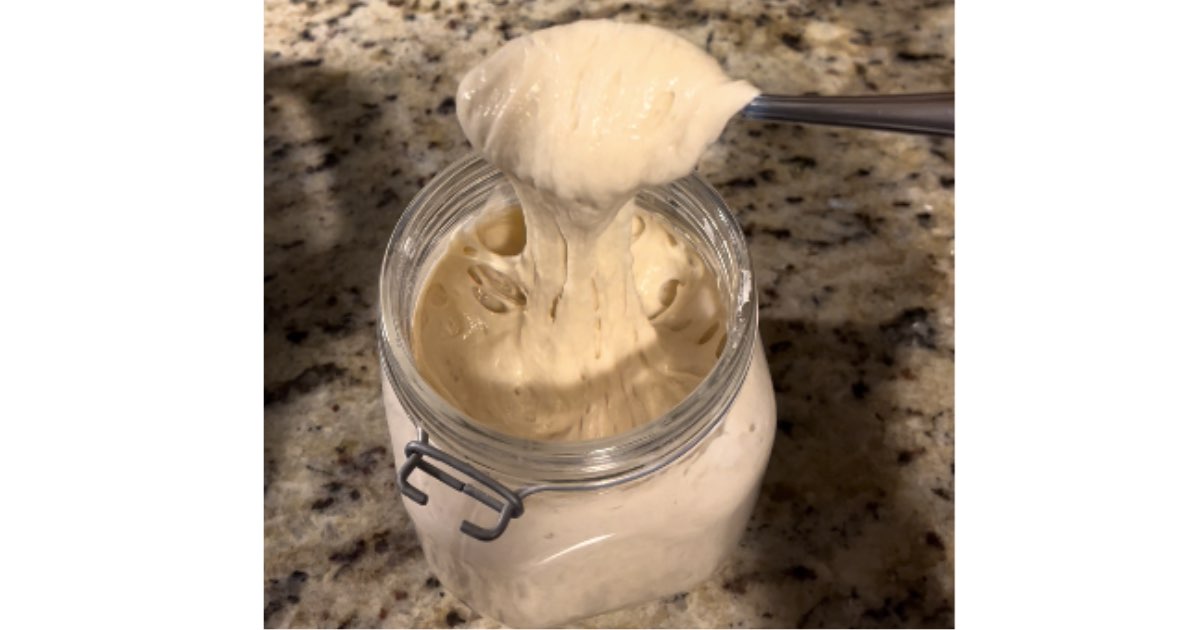
I have a mature starter. While this is great for making sourdough recipes, it does ensure my sourdough bread has lots of bubbles.
During the countertop fermentation period my dough easily doubles in size. It produces a lot of bubbles and passes them as I shape my boules.
While baking, I noticed my bread was not cooking all the way through or was leaking out of one side – bursting out of the seems. Despite my best attempts to de-gas my bread and pop bubbles before placing in the oven, some remained in the middle of my bread.
To counteract this, I have poked holes with a knife in the “burst/leak”. This helps to ensure the dough cooks inside the loaf of bread while still providing an open crumb. After popping the bubble and placing it back in the oven for an additional 10 minutes, the sourdough bread cooked.
How Heat and Time Impact Bread ‘Doneness’
Oven temperature
Having an oven thermometer can help to ensure the oven is at the right temperature. Gas ovens are known to make the oven hotter than it is set, only to settle down to a regular temperature. It does not hold a steady temperature as much as an electric oven and frequently hast to turn on. This can impact good oven spring.
I found my oven is 25 degrees hotter than what I set it to. If I put it on 425 degrees Fahrenheit – it is 450 degrees Fahrenheit preheating. The oven thermometer helped ensure the best results.
While oven temperature can cause bread to rise quickly, it can also form a hard crust on the outside which and prevent bread from cooking on the inside. This is because the crust is too thick or will burn if cooked longer.
It can help to experiment with adjusting temperature of the oven as well – setting it higher initially for good oven rise and reducing it to cook the bread / prevent the crust from burning. For example, starting at 450 degrees Fahrenheit for 15 minutes and reducing to 425 Fahrenheit for the remainder of the bake. This is the beauty of a sourdough journey – sometimes it comes down to the temperature.
Internal Temperature of Bread
To understand if a sourdough bread loaf is cooked, check these items:
- Crispy exterior
- Tap test (exterior should be hard when tapped)
- Hollow (should feel lighter than when it went into the oven)
- Exterior color has changed
While it is not necessary to use a thermometer when cooking bread, it can be helpful to understand the internal temperature. A bread which is above 190 – 200 degrees should be considered ‘done’. Some even call for a loaf temping at 210 degrees.
Cook Time
The length of time a loaf of bread is cooked in the oven can also impact the ‘doneness’. Sometimes a loaf of bread simply needs more time in the oven. While our favorite sourdough bread recipe takes 30-35 minutes, my newest low hydration loaf takes 35-40 minutes.

Over Proofed vs. Under Proofed Loaf
Understanding when a loaf of bread is proofed correctly prior to shaping and bulk fermenting in the fridge can be hard to analyze. Generally, a sourdough bread should double in size during fermentation. When the bowl is wiggled, the dough should jiggle. This final rise is an important step – leading to a good loaf of bread!
There are a few distinct differences in how sourdough bread will turn out when cooked if it is over proofed vs. under proofed.

Under Proofed Sourdough
An under proofed loaf of sourdough bread has a few distinct features:
- The dough is a little too easy to handle when forming a boule
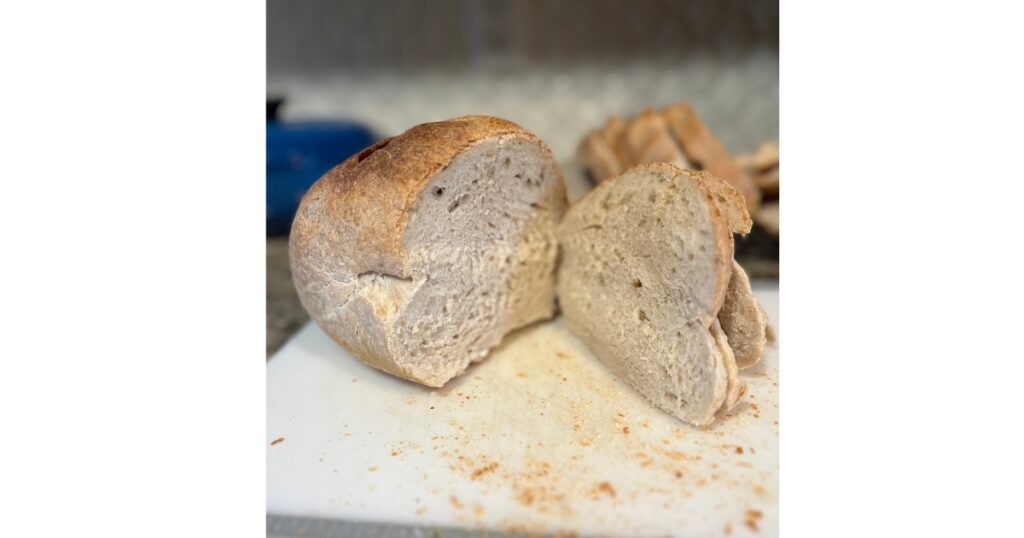
- The internal crumb is gummy. This often shows at the bottom of the bread where little to no air bubbles occur
- There may be raw spots or pockets where the dough is ‘underbaked’ or flat
- The sourdough bread is flat
- The sourdough bread is heavy and not hollow when picked up
To fix an under proofed loaf of sourdough bread, turn it into croutons or homemade breadcrumbs.
Over Proofed Sourdough
To understand if bread dough is over proofed, look for these signs:
- The internal crumb has large, pocket like holes
- The bread spreads across the surface when cooked
- The dough is hard to handle when shaping
- It can be sticky, runny and does not hold shape when forming a boule
Thankfully, an over proofed sourdough dough can easily be turned into a focaccia bread.

Have you ever had a loaf of bread go wrong? What did you do to remedy it? Let us know what you did to produce different results in the comments below!
I tend to get lots of big holes which cause my loaves to blow out the side and are raw in the middle. To remedy this, I have shaped my bread more and pop any bubbles over the size of a dime with a fork or razor blade. Though this reduces the awesome large holes we love for butter, I have had more edible loaves of bread.

